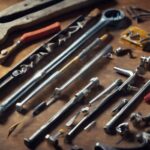
- 7 Top Flite Golf Clubs XL for Improved Performance - September 28, 2024
- Top Flite Golf Clubs: Top 5 Reasons to Choose Them - September 28, 2024
- Top 3 Golf Club Fitters for a Perfect Swing - September 28, 2024
You're just 10 steps away from fixing your loose golf club head with JB Weld. Start by identifying the loose head, then prepare the area by cleaning excess epoxy and debris. Apply gentle heat to loosen old adhesive, remove excess epoxy, and clean the shaft. Reattach the club head securely, allowing the epoxy to set fully overnight. Once cured, test the repair for security, then inspect and maintain the club regularly. With attention to detail and patience, you'll secure a strong, lasting bond. Follow these steps carefully to get back to playing your best game, and discover the secrets to a professional-grade repair.
Key Takeaways
- Identify a loose club head by checking for movement and gap between head and shaft, and address it promptly to prevent accidents and performance issues.
- Clean excess epoxy and debris from the club head and shaft to ensure a smooth reattachment surface, and gently sand them for better adhesion.
- Apply gentle heat with a heat gun to loosen old adhesive, taking care not to damage the club head, and focus on gentle, consistent heat for best results.
- Allow the epoxy to set fully, following the recommended curing time, to ensure proper bonding, securing strength, and preventing issues.
- Test the repair gently, checking for strength, stability, and security, and inspect the club regularly to maintain its performance and longevity.
Identify the Loose Club Head
When examining your golf club, look for movement and a gap between the head and shaft to identify a loose club head. This crucial matter requires immediate attention to prevent the head from detaching during play.
You can't afford to overlook this concern, as it can greatly impact your game. A loose club head isn't only frustrating but also risky, as it can lead to accidents or injuries.
Take a closer look at the connection between the head and shaft. If you notice the black piece moving up, it's a clear indication that the club head is loose and needs repair. Don't disregard this warning sign, as the issue will only deteriorate with time.
Addressing the matter promptly will ensure your golf club is safe to use and performs at its best. Remember, a loose club head is a crucial matter that requires your attention.
Prepare the Area for Repair
Clean out any excess epoxy or debris from both the shaft and the club head to create a smooth surface for reattachment. This step is vital in guaranteeing a strong bond between the two components.
Next, use a solvent or alcohol to clean the area and remove any residue that may interfere with the new epoxy. This thorough cleaning process will help promote surface smoothness, allowing the JB Weld to adhere properly.
Now, prepare the club head and shaft by gently sanding the surfaces. Select a fine-grit sandpaper to achieve a smooth finish, which will facilitate better adhesion. Sanding will also help remove any remaining impurities, ensuring a robust and long-lasting repair.
Remember, proper preparation is essential for a successful fix. Take your time to ensure the surfaces are free of obstructions and imperfections. A well-prepared surface will give you the best chance of a professional-grade repair.
Heat Up the Old Glue
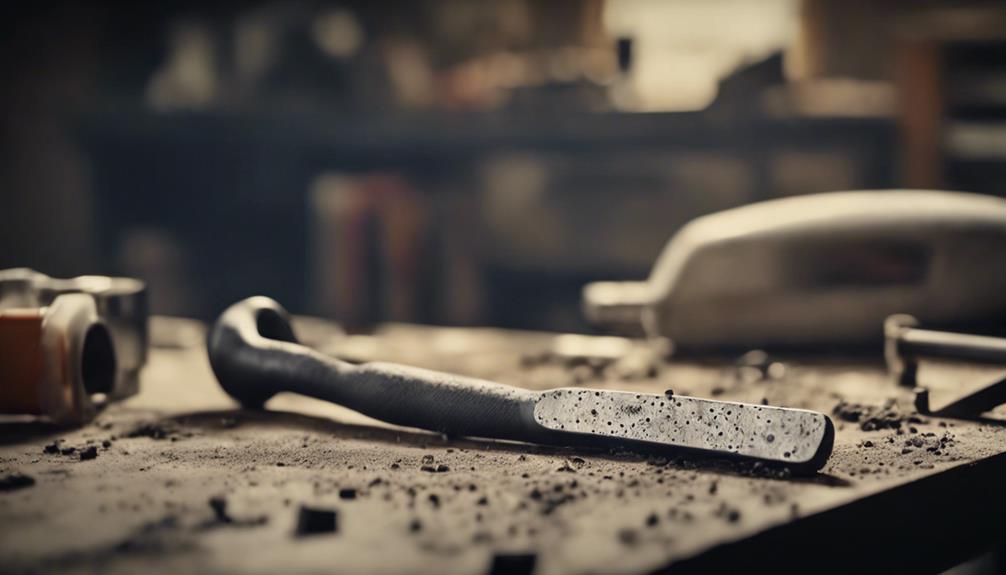
You'll need to apply gentle heat to the old glue using a heat gun, carefully directing it towards the bottom of the shaft to loosen the adhesive. This precision heating is essential to avoid damaging the black piece on the club head.
As you heat the area, maintain temperature control to prevent overheating, which can cause unintended damage.
The goal is to soften the adhesive, making it easier to remove the club head. Be cautious not to apply too much heat, as this can compromise the structural integrity of the shaft. Instead, focus on gentle, consistent heat to achieve best adhesive softening.
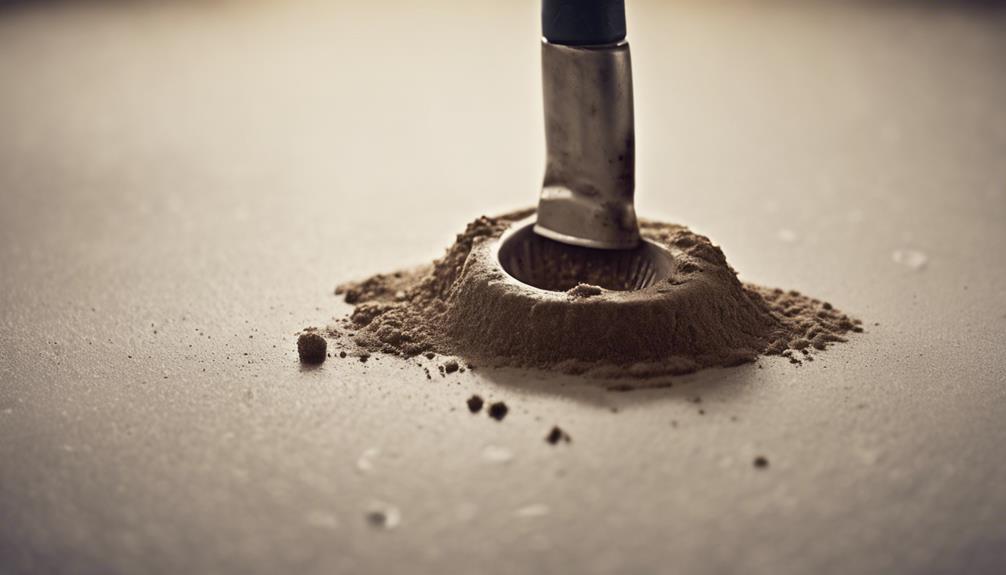
Remove Excess Epoxy and Debris
Scraping away extra epoxy and debris from the club head and shaft surfaces becomes the next important step in preparing for a strong reattachment. You'll want to make sure that both surfaces are clean and free of any leftover epoxy or debris to achieve a smooth reattachment process.
Here are some epoxy removal techniques and debris cleaning methods to keep in mind:
| Technique | Description | Tips |
|---|---|---|
| Wipe away excess | Use a clean cloth or brush to wipe away surplus epoxy or debris | Be gentle to avoid scratching the surface |
| Inspect carefully | Carefully examine the club head and shaft for any remaining epoxy or debris | Use a magnifying glass if necessary |
| Clean with solvent | Use a solvent to clean away stubborn epoxy or debris | Follow safety precautions when using solvents |
| Dry the surface | Make sure the surface is dry and free of moisture | Use a dry cloth to wipe away any moisture |
| Visual inspection | Perform a final visual inspection to make sure all excess epoxy and debris are removed | Check for any remaining imperfections |
Clean and Prepare the Shaft
With the club head and shaft surfaces cleared of excess epoxy and debris, turn your attention to the shaft, which must be thoroughly cleaned and prepared to secure a strong bond with the club head. You'll need to remove any dirt, debris, or old epoxy residue that could compromise the repair. Use a solvent or alcohol to wipe down the shaft, making sure it's completely clean and free of any residue. This thorough cleaning process is vital for a successful repair.
Next, roughen the surface of the shaft slightly. This surface roughening will help the epoxy adhere better, creating a more secure bond between the shaft and club head. Proper shaft preparation is crucial for a strong and lasting reattachment. Take your time and make sure the shaft is spotless and roughened evenly.
Once you've completed these steps, you'll be ready to move on to the next stage of the repair process. Remember, a clean and prepared shaft is the foundation of a successful repair, so don't rush this important step.
Apply New Epoxy to the Shaft
Precision is key as you apply a thin, uniform layer of epoxy to the edge of the shaft, where it will form a strong bond with the club head. This is a critical step in guaranteeing a secure attachment and proper bonding techniques.
Here are three essential tips to keep in mind during epoxy application:
- Even distribution: Make sure the epoxy is uniformly spread around the shaft to create a strong bond with the club head.
- Right amount: Use sufficient epoxy to create a strong connection, but avoid excess that can cause difficulty in reattaching the head.
- Firm press: Press the club head firmly onto the shaft with the epoxy to ensure a tight fit.
Remember to allow the epoxy to dry completely before using the club to prevent any issues with the repair.
Reattach the Club Head Securely

Now that you've applied new epoxy to the shaft, it's time to reattach the club head securely.
To guarantee a strong bond, you'll need to heat the glue properly and clean excess epoxy from the area.
Heating the Glue Properly
You'll need to carefully warm the glue on the club head using a heat gun, directing the heat specifically towards the bottom to prevent damaging other parts of the club. This step is essential for achieving proper glue adhesion and securing the repair's durability.
Here are some key considerations to keep in mind:
- Heat application: Focus the heat gun directly on the glue to avoid overheating surrounding components.
- Temperature control: Monitor the temperature to prevent excessive heat, which can harm the club head or shaft.
- Even heating: Move the heat gun slowly and evenly around the glue to guarantee consistent heat distribution.
Cleaning Excess Epoxy
After confirming the glue is properly heated, turn your focus to removing excess epoxy from both the shaft and the club head to guarantee a secure reattachment.
This step is essential, as excess epoxy can cause resistance when pushing the club head back on, making cleaning essential. To eliminate the excess epoxy, use appropriate tools such as a razor blade or a flathead screwdriver to gently scrape off the excess material. Be cautious not to scratch the surfaces.
Next, utilize cleaning techniques such as wiping the surfaces with a lint-free cloth and acetone to remove any remaining residue. This thorough cleaning ensures a smooth reattachment process without hindrances. Additionally, it allows for a stronger bond between the shaft and the club head.
As a maintenance tip, make it a practice to regularly clean your golf clubs to prevent epoxy buildup. By following these steps, you'll be able to securely reattach the club head, ensuring your golf club is in top condition.
Allow the Epoxy to Cure Overnight
Now that you've reattached the club head securely, it's crucial to let the epoxy dry completely to make sure a strong bond.
You'll need to resist the urge to test the club immediately and instead allow it to cure overnight, as premature testing can compromise the repair.
Let Epoxy Dry Completely
Allow the epoxy to set overnight, letting it fully harden and form an unyielding bond between the club head and shaft. This step is essential in securing a strong and durable repair.
By giving the epoxy sufficient time to set, you'll achieve:
- Proper bonding: A complete set ensures the epoxy adheres perfectly to both the club head and shaft, creating a solid joint that can withstand the rigors of golf.
- Securing strength: A fully set epoxy bond provides the necessary strength to keep the club head securely in place, even during powerful swings.
- Preventing issues: Rushing the drying process can lead to a weak bond, which may cause the club head to come loose again. By waiting, you'll prevent future problems and secure your repair lasts.
Avoid Premature Testing
You've taken the time to let the epoxy set overnight, and now it's equally significant not to rush the testing process, as premature evaluation can compromise the repair. Allowing the epoxy to cure fully is vital for achieving best bonding strength and guaranteeing the repair's durability. If you test the club too soon, you risk compromising the bond between the club head and shaft, which can lead to the club head coming loose again.
Take the necessary testing precautions and resist the temptation to test the club prematurely. The recommended curing time for JB Weld epoxy is at least 15-24 hours for best results. Rushing the process can lead to further issues down the line, so it's crucial to be patient and let the epoxy cure fully.
Wait for Full Cure
Patience takes center stage as you let the epoxy cure overnight, ensuring a rock-solid connection between the club head and shaft that can withstand the forces of your swing. The curing process is vital, and rushing it can compromise the repair. It's necessary to allow the epoxy to fully cure, which typically takes between 12 to 24 hours, depending on the specific product.
Here are three key reasons to wait for full cure:
- Ensuring bond strength: A fully cured epoxy bond is crucial for withstanding the impact of your swing and maintaining the club's integrity.
- Avoiding premature failure: Rushing the curing process can lead to a weak bond, causing the club head to detach during play.
- Preventing further damage: Allowing the epoxy to fully cure prevents any additional harm to the club or shaft, ensuring a successful repair.
Test the Repair for Security
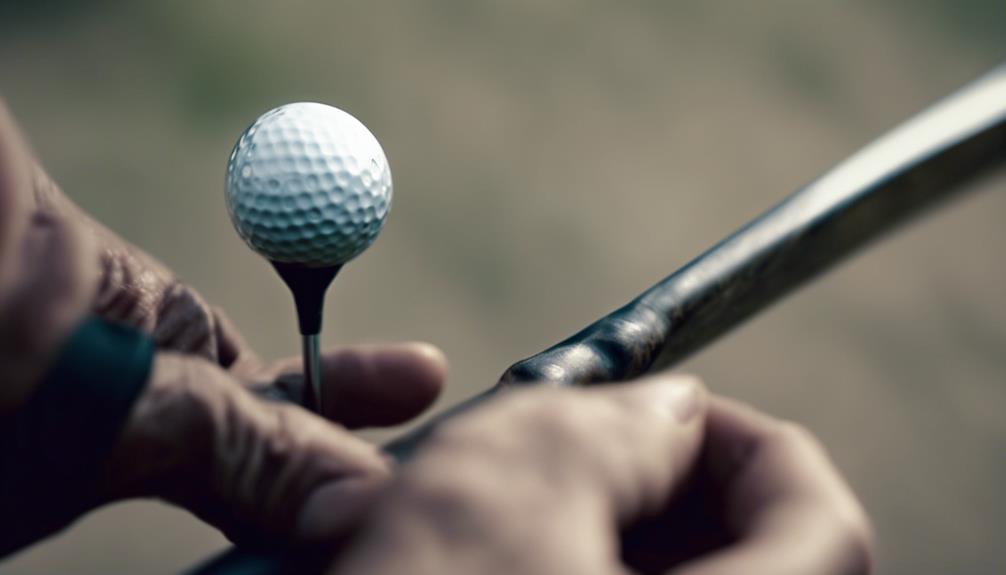
After the epoxy has fully hardened, gently manipulate the club head to confirm that it's securely attached to the shaft. You're now ready to test the repair for security.
To guarantee a solid bond, perform the following checks:
| Test | Action | What to Look For |
|---|---|---|
| Strength Testing | Apply slight pressure to the head | No separation or shifting between head and shaft |
| Stability Check | Wiggle and rotate the club head | No movement or looseness |
| Security Validation | Repeat testing from different angles | Consistent results, no signs of weakness |
As you carry out these tests, pay attention to any signs of weakness or instability. If the club head feels secure and shows no signs of movement or separation, you can be confident that the repair is strong and reliable. Remember to be gentle when testing, as you don't want to compromise the repair. By following these steps, you'll have a solidly repaired golf club that's ready for the course.
Inspect and Maintain the Club
Regular maintenance is key to extending the lifespan of your golf clubs, so take a closer look at your clubs after each round to catch any potential issues before they become major problems. This proactive approach to club maintenance will save you time and money in the long run.
Here are some inspection tips to keep in mind:
- Check for loose or damaged parts: Make sure all screws, bolts, and other components are securely in place.
- Inspect the club head: Look for any signs of movement or separation from the shaft, and address any issues promptly.
- Clean and store your clubs properly: Keep your clubs clean and dry to prevent rust and damage, and store them in a secure place to avoid accidental damage.
Frequently Asked Questions
Is J-B Weld a Permanent Fix?
You'll find that J-B Weld provides a long-lasting, durable fix, but it's not the only solution; alternative methods exist, and for best results, consider consulting a professional for high-quality, long-lasting repairs that guarantee peak performance.
What Type of Epoxy for Golf Clubs?
When searching for the perfect epoxy, imagine a master craftsman selecting the finest brushstrokes for a masterpiece. You'll want types that guarantee effectiveness, like metal-to-metal bonding epoxies, applied with precision for durability, compatible with your club's materials, and requiring minimal maintenance.
Does J-B Weld Really Work?
You'll find J-B Weld's durability impressive, with most users reporting strong bonds that withstand wear and tear. While some note it can be messy to work with, the pros far outweigh the cons, with many swearing by its reliability in various repair applications.
How to Re-Epoxy a Golf Club?
You're about to join the 60% of golfers who've repaired their clubs, and with proper technique, you'll succeed. Avoid common mistakes by using the best tools, like a heat gun and epoxy, to re-epoxy your golf club with precision and care.
Conclusion
You've successfully repaired your golf club with JB Weld. Now, you're ready to take on the course again. But, will your repair stand up to the rigors of your swing?
With these 10 steps, you've given your club a solid foundation for a strong comeback. Proper maintenance will guarantee your club remains in top condition, so inspect and clean it regularly.
Get back out there and crush your next shot – your club is ready.