
- 7 Top Flite Golf Clubs XL for Improved Performance - September 28, 2024
- Top Flite Golf Clubs: Top 5 Reasons to Choose Them - September 28, 2024
- Top 3 Golf Club Fitters for a Perfect Swing - September 28, 2024
You'll craft the perfect golf club in 7 steps, starting with a precision-driven workspace where every tool and material is meticulously organized. Next, select and cut your shafts, ensuring precise measurements and smooth cuts. Test fit your club heads, evaluating lie angle, loft, and performance. Then, attach the club head to the shaft, applying epoxy for a secure bond. After assembling the club, install the grip and finalize the build. Inspect and test your club, examining for damage and optimizing performance. Now, get ready to refine your swing with a club tailored to your unique style and preferences – the perfect fit is just a step away.
Key Takeaways
- Set up a clutter-free workbench with necessary tools within easy reach to ensure efficiency and precision.
- Measure hosel depth accurately to ensure a precise shaft fit and prevent performance issues.
- Test fit club heads to ensure proper alignment with the shaft and evaluate performance, distance, accuracy, and feel.
- Use high-quality epoxy to attach the club head to the shaft, ensuring a secure bond and precise alignment.
- Thoroughly inspect and test the club for visible damage, performance, and consistency to ensure a perfect fit.
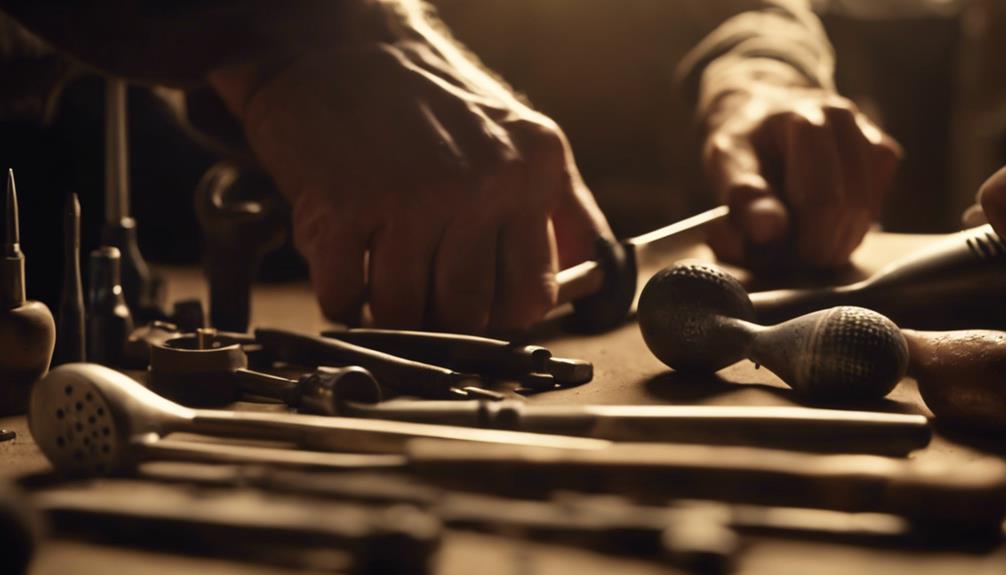
Prepare Your Workspace and Tools
Set up a well-lit, clutter-free workbench with necessary tools within easy reach, as a clean and organized workspace is essential for efficiently crafting the perfect golf club. You'll need quality tools like a cordless drill and metal drill bits to guarantee precise work. Organize your tools and materials in storage bins to maintain order and reduce frustration. Consider space-saving options like IKEA solutions to optimize your workbench setup.
Next, prepare your golf shaft by applying masking tape to the shaft tip to prevent damage during ferrule installation. This attention to detail is crucial for a professional-looking finish. Have your drill bit ready to create a precise hole for the ferrule.
With your workspace and tools in order, you'll be able to focus on the intricate process of crafting your golf club. Don't forget to have grip tape on hand for the final assembly. By setting up your workspace and tools correctly, you'll be well on your way to creating a high-quality golf club that meets your exacting standards.
Select and Cut Your Shafts
With your workspace and tools ready, you're now prepared to focus on selecting and cutting the perfect shaft for your custom golf club. This critical step requires attention to detail to guarantee a precise fit and top-notch performance.
To get started, measure the hosel depth to make sure the shaft fits properly, marking it for accurate cutting.
Next, choose the right cutting tool: a golf shaft cutter for steel shafts and a hacksaw with a grit edge blade for graphite shafts. When cutting graphite shafts, apply masking tape to prevent splintering.
Here are some key considerations to keep in mind:
- Use the correct trimming instructions for your shaft type
- Sand steel shaft tips with 100 grit sandpaper and graphite shafts with 150 grit sandpaper for smoothness
- Measure carefully to avoid errors that can affect club performance
- Consider the weight and flex of the shaft to ensure it meets your swing requirements
- Guarantee the shaft is properly seated in the hosel bore to prevent damage or poor performance
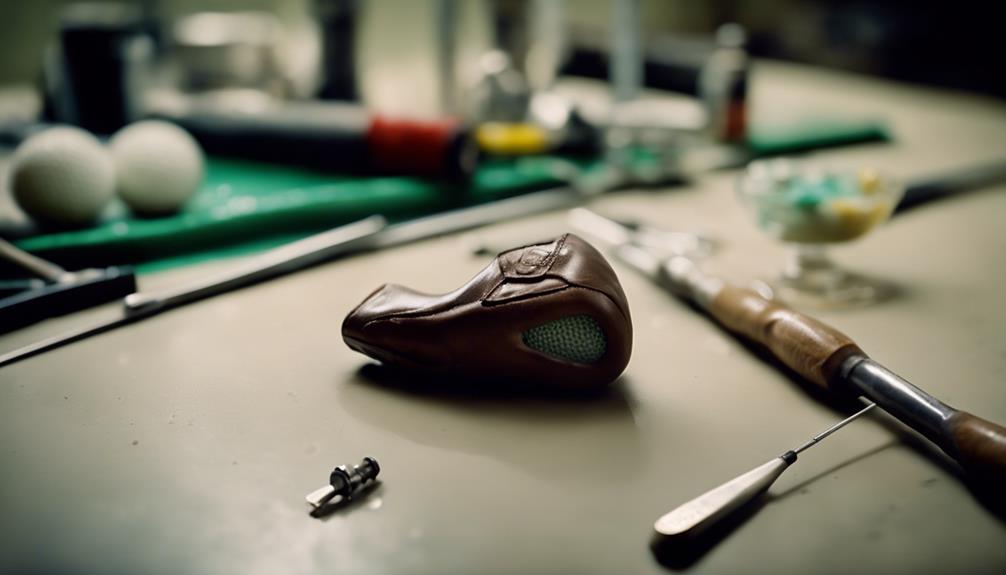
Test Fit Your Club Heads
Now that you've selected and cut your shafts, it's time to test fit your club heads to confirm a precise match.
You'll need to carefully evaluate the club head selection to guarantee the correct lie angle and loft for peak performance.
In this process, you'll also learn about the epoxy attachment process and how it influences the overall club head position.
Club Head Selection
How do you guarantee the club head you've selected is the ideal match for your swing and desired performance? The answer lies in test fitting your club heads. This essential step optimizes the club head aligning properly with the shaft, which is necessary for peak performance. By temporarily attaching the club head to the shaft, you can evaluate how well they work together.
Here are the key benefits of test fitting your club heads:
- Proper alignment: Ensures the club head and shaft are perfectly aligned, resulting in improved ball striking and overall performance.
- Performance evaluation: Allows you to assess the club head's performance, including distance, accuracy, and feel.
- Detection of potential issues: Reveals any problems with the club head, such as loose connections, before they become significant issues.
- Shaft compatibility: Verifies the club head is compatible with the shaft, ensuring a smooth, consistent swing.
- Customization: Enables you to fine-tune your club to your individual swing style and preferences.
Epoxy Attachment Process
You'll need to prepare a small amount of epoxy specifically designed for golf club assembly, as it's important for creating a strong, durable bond between the club head and shaft. Before applying the epoxy, it's essential to test fit your club heads to confirm proper alignment and fit. This step is crucial in determining the correct positioning and orientation of the club head on the shaft.
| Step | Action | Purpose |
|---|---|---|
| 1 | Place the club head on the shaft | Verify proper alignment and fit |
| 2 | Check for any misalignments | Identify and correct any errors |
| 3 | Adjust the club head position | Achieve optimal positioning and orientation |
Take your time during the test fit process to ensure a precise and secure attachment with epoxy. Proper test fitting can enhance performance and consistency in your golf game. Remember, this step is vital in preventing any misalignments or errors in the final assembly of the golf club. By following these steps, you'll be able to achieve a strong, durable bond between the club head and shaft, resulting in a high-quality golf club that meets your standards.
Attach the Club Head to Shaft
With the shaft prepared, firmly align the club head to guarantee a precise connection, taking care to match the manufacturer's specifications or your own custom design. A slight misalignment can throw off the entire club's performance, so take your time to get it just right. This is especially important when working with graphite shafts, as they can be more finicky than traditional steel shafts.
To make a secure bond, follow these steps:
- Use high-quality epoxy to attach the club head to the shaft, making sure to apply an even coat to the taper tip.
- Allow the epoxy to cure for the recommended time to secure a strong connection, whether you're building a Pitching Wedge or a full set of irons.
- Check for any excess epoxy around the joint and clean it off for a clean finish.
- Test the club head attachment by gently twisting and pulling on it to confirm it's securely in place.
- Double-check your work to avoid any weak points in the bond, which can lead to a faulty Golf Club.
Apply Epoxy and Assemble Club
After confirming the secure attachment of the club head to the shaft, apply a small amount of epoxy to the tip of the shaft, spreading it evenly to prevent excess glue from seeping out during assembly. This establishes a strong and durable bond between the shaft and club head.
Next, slide a ferrule over the connection point to cover the epoxy and achieve a professional finish.
Now, carefully insert the shaft into the hosel of the club head, making sure it's properly aligned. Double-check the alignment to guarantee the club face is square to the target line. Hold the shaft in place for a few seconds to allow the epoxy to start setting.
Once you're confident in the alignment, release the shaft and let the epoxy cure for the recommended time, usually several hours or overnight, depending on the epoxy brand.
During this time, the epoxy will harden, creating a strong bond between the shaft and club head.
After the epoxy has cured, your club is ready for the next step.
Install the Grip and Finalize
Begin by preparing your grip installation by applying a thin, even layer of grip solvent to the shaft, making certain the surface is clean and free of debris. This will create a secure bond between the grip and shaft.
Next, wrap the grip tape around the shaft, ensuring it's aligned properly with the club face orientation for best performance.
Here are some key considerations to keep in mind during the grip installation process:
- Apply consistent pressure while sliding the grip onto the shaft to avoid air bubbles or slippage.
- Clean excess solvent and check grip alignment before allowing it to dry completely.
- Confirm the grip is securely attached to the shaft to prevent it from coming loose during play.
- Double-check the grip's alignment with the club face to achieve optimal performance.
- The final step of grip installation is essential for comfort, feel, and control during golf swings, so take your time and get it right.
Inspect and Test Your Club

Now that your golf club is fully assembled, thoroughly examine it for any visible damage or wear on the club head, shaft, and grip before taking it to the course. As a meticulous club builder, it's important to identify any potential issues before they impact your game. Check for scratches, dents, or worn-out areas that could affect the club's performance.
Next, test the club's performance by hitting balls to assess accuracy and distance. Pay attention to any vibrations, unusual sounds, or inconsistencies during testing. Evaluate the club's feel and comfort to make sure it suits your swing style and proper length. Consider using a launch monitor to gather precise data on your club's performance.
If you're unsure about any aspect of your custom clubs, consider consulting a professional club fitting service for expert analysis and recommendations. By examining and testing your club thoroughly, you'll be confident that it's optimized for your game, giving you a competitive advantage on the course.
Frequently Asked Questions
How to Arrange Golf Clubs in a 7 Divider Bag?
When arranging golf clubs in a 7-divider bag, you'll want to prioritize club organization, customizing dividers for your selection, and aligning clubs for best weight distribution, considering grip preference, shaft length, and club order for a precise golf bag layout.
How Do You Set up a 7 Iron Golf?
You're about to release a powerful 7 iron shot by perfecting your swing technique, adjusting grip pressure, positioning the ball just forward of center, selecting the right club, aligning your stance, and maintaining a precise follow-through angle.
How Is a Golf Club Made Step by Step?
You'll start by selecting the perfect shaft, then move on to custom fitting, followed by club head assembly and grip installation, before finishing with club finishing and quality control to guarantee a precision-made golf club tailored to your needs.
How to Set up a 14 Club Golf Bag?
When setting up your 14-club golf bag, you'll optimize club organization and selection by categorizing clubs by type, prioritizing equipment maintenance, and considering custom fitting, to guarantee a precise swing technique and effective course management.
Conclusion
With your club now assembled, the sweet spot awaits. The fusion of shaft and head, epoxy and grip, culminates in a harmonious union that's both art and science.
As you grasp the finished product, the weight and balance whisper promises of precision and power.
The course beckons, and with every swing, your craftsmanship will be on full display.
Your perfect club is ready to dance with the turf, and the symphony of par-fect shots is about to begin.