
- 7 Top Flite Golf Clubs XL for Improved Performance - September 28, 2024
- Top Flite Golf Clubs: Top 5 Reasons to Choose Them - September 28, 2024
- Top 3 Golf Club Fitters for a Perfect Swing - September 28, 2024
You'll need to meticulously prepare your golf club's surface and select the right paint to guarantee a durable, high-quality finish that withstands the rigors of the game. Clean the club thoroughly, removing old paint if necessary, and choose paint that's compatible with the club material and usage conditions. Secure the club in a stable position, apply masking tape, and paint evenly for a professional finish. Allow the paint to dry, then inspect and touch up any imperfections. Finally, smooth out the finish with wire wool and apply metal polish for a high shine. Now, take the next step towards creating your custom masterpiece.
Key Takeaways
- Clean the club surface thoroughly to remove dust, dirt, or grease before painting.
- Choose paint that aligns with design goals, durability, and heat resistance requirements.
- Secure the club on a flat surface and apply masking tape to safeguard areas not meant for paint.
- Use high-quality, golf-club-specific paint and apply it carefully in the desired color and amount.
- Inspect the finished club for imperfections and touch up with fine-tip paint pen or wire wool as needed.
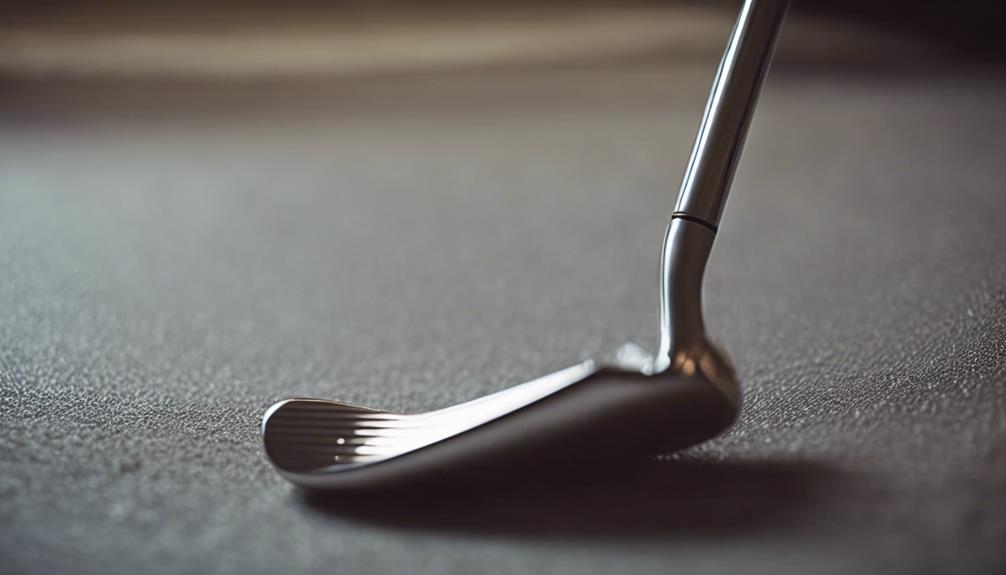
Prepare Club Surface
Before applying custom paint to your golf club, thoroughly clean the surface to remove any dust, dirt, or grease that may interfere with the painting process. You'll want to start with a clean slate to guarantee a smooth, even application.
Take a close look at the existing paint on your club – if it's cracked or loose, you'll need to eliminate it using acetone or a paint stripper. However, if the old paint is still in good condition, you can leave it be.
Once you've eliminated any necessary old paint, give the surface another thorough cleaning to remove any residue. Secure your club in a bench vice or on a flat surface to prevent it from moving around while you work.
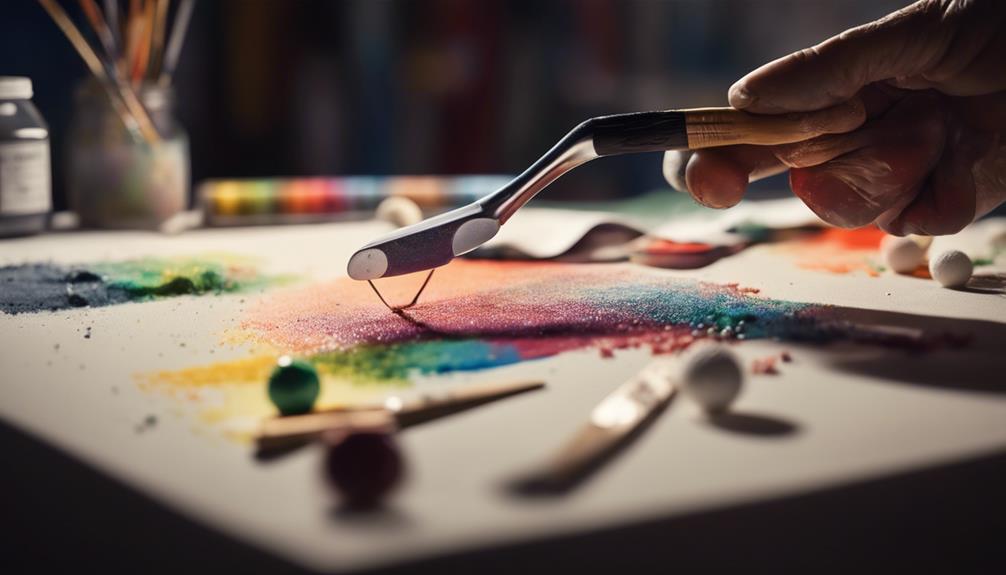
Choose Paint and Materials
With a clean and prepared surface, you're ready to select the ideal paint and materials for your custom golf club design, weighing factors such as durability, finish, and heat resistance. For a durable and glossy finish, contemplate using two-part acrylic urethane auto paint or urethane auto paint with flex additive. If you're seeking a unique look, Plastidip can be a viable option when applied correctly with a sprayer. For areas that require heat resistance, high heat or BBQ grill paint may be suitable.
Here are some paint options to ponder for your custom golf club:
| Paint Type | Characteristics |
|---|---|
| Automotive Aerosol Paint | Fast drying time, built-in clear coat |
| Urethane Auto Paint with Flex Additive | Durable, flexible |
| Two-Part Acrylic Urethane Auto Paint | Durable, glossy finish |
| Plastidip | Unique look, applied with sprayer |
| High Heat or BBQ Grill Paint | Heat resistant, suitable for specific areas |
Remember to choose a paint that aligns with your design goals and the specific requirements of your golf club. By selecting the right paint and materials, you'll guarantee a professional-looking finish that withstands the demands of the game.
Secure Club for Painting

To achieve an exact and controlled paint application, anchor your golf club in a bench vice or on a flat surface, guaranteeing stability and preventing unwanted movement during the painting process. This critical step sets the foundation for a professional-looking finish.
When anchoring your club, consider the following:
- Use a bench vice or flat surface to prevent the club from shifting during painting
- Apply masking tape to smooth surfaces to safeguard areas not intended for paint
- Confirm the club head is stable and even to prevent accidental smudges or uneven paint coverage
- A secure base allows for precise and controlled application of paint
- Properly anchoring the club saves time and effort in the long run by avoiding rework and ensuring a clean, professional paint job
Apply Paint to Club
Having stabilized your golf club in a secure position, you're now ready to apply the paint, carefully selecting a high-quality, golf-club-specific paint that meets your desired color and finish requirements. Automotive aerosol paint or urethane auto paint with flex additive are excellent choices.
Before applying the paint, use masking tape on smooth surfaces to create clean lines and prevent paint from spreading to unwanted areas. This guarantees a professional-looking finish.
Now, apply the paint carefully in the desired color and amount, filling the designated area in one application if possible. Focus on achieving a uniform Paint Fill, making sure to cover the entire area evenly. Avoid applying too much paint, as this can lead to drips and unevenness.
Work methodically, taking your time to guarantee a smooth, consistent coat. Allow the paint to dry for at least 24 hours before inspecting the club for any final touch-ups or polishing for a high-quality finish.
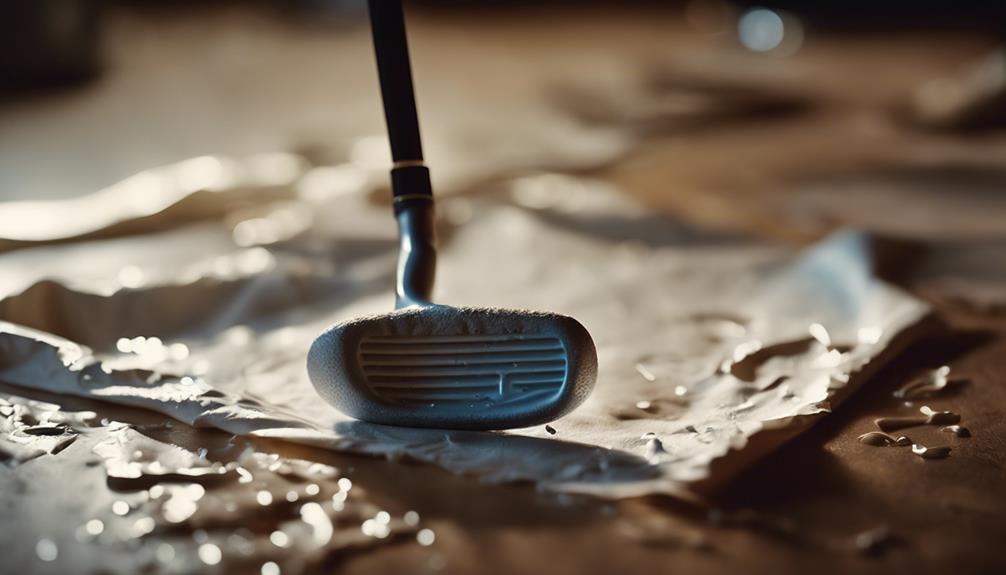
Wipe Excess Paint Away
Frequently, you'll need to wipe away excess paint from the filled area to prevent unwanted buildup and ensure a smooth finish. This critical step guarantees a professional-looking result and saves you from potential headaches down the line.
To remove excess paint, follow these essential steps:
- Use a tissue to wipe away excess paint from the filled area in a diagonal motion.
- For tight areas, employ a cotton bud soaked in solvent to eliminate excess paint.
- Allow the paint to dry for a minimum of 24 hours before proceeding with further cleaning.
- Achieve a high-level finish by using wire wool or a scotch-brite pad to refine the painted surface.
- Finish by polishing the metal and giving the club a final buff for a professional look.
Clean Up Paint Mistakes
If you've accidentally applied too much paint or notice unwanted spills, don't panic – instead, grab a cotton bud soaked in solvent and carefully remove the excess paint from tight areas. Wipe away any excess paint outside the filled area with a tissue to prevent it from spreading.
| Step | Action | Tool |
|---|---|---|
| 1 | Remove excess paint from tight areas | Cotton bud with solvent |
| 2 | Wipe away excess paint outside filled area | Tissue |
| 3 | Inspect for remaining over-spill paint | Visual examination |
| 4 | Eliminate remaining over-spill paint | Wire wool or scotch-brite pad |
After cleaning up the paint mistakes, allow the paint to dry for a minimum of 24 hours before inspecting the final finish. If you need to remove old paint, consider using a paint stripper to guarantee a smooth surface for your custom design. Finally, follow up with metal polish and a final buff to secure a high-quality finish on your custom golf club.
Allow Paint to Dry
With the paint mistakes corrected, you must now allow the paint to dry for a minimum of 24 hours to guarantee a durable, smudge-free finish on your custom golf club. This essential step ensures that the paint adheres properly to the club's surface, resulting in a professional-looking finish.
Proper drying time is vital to achieve a high-quality finish. Here are some key considerations to keep in mind:
- Rushing the drying process can lead to a less professional-looking paint job.
- Different types of paint require varying drying times, so be sure to follow the manufacturer's instructions.
- Allowing the paint to dry completely helps prevent smudges or imperfections in the final appearance.
- Failure to allow sufficient drying time can compromise the paint's ability to adhere to the club's surface.
- Following recommended drying times for the specific paint used can lead to a high-quality, long-lasting finish on your custom golf club.
Achieve High-Level Finish
Now that your paint is dry, you'll want to achieve a high-level finish to showcase your custom golf club painting skills.
To do this, you'll need to focus on final polishing and adding those last-minute paint finishing touches.
Final Polish
To achieve a high-level finish on the painted area of the golf club, you'll need to use a combination of wire wool or scotch-brite pad and metal polish to remove excess paint and smooth out the surface. This step is vital in guaranteeing a professional-looking finish.
Here are the key steps to follow for a final polish:
- Use wire wool or a scotch-brite pad to gently eliminate any excess paint and smooth out the surface.
- Follow up with metal polish to add shine and luster to the painted area.
- Inspect the club thoroughly for any remaining overspill paint before finishing.
- Perform a final buffing step to enhance the overall appearance of the custom painted golf club.
- Double-check your work to make sure a flawless finish.
Paint Finishing Touches
You've successfully removed excess paint and smoothed out the surface, and now it's time to focus on adding the final flourishes to achieve a truly high-level finish on your custom painted golf club. To take your paint job to the next level, use wire wool or a scotch-brite pad to achieve a high-gloss finish. Inspect the clubs carefully for any final removal of over spill paint to guarantee a clean finish.
| Step | Action | Result |
|---|---|---|
| 1 | Use wire wool/scotch-brite pad | High-gloss finish |
| 2 | Inspect for over spill paint | Clean finish |
| 3 | Apply metal polish and buff | Enhanced overall look |
Follow up with metal polish and a final buff to enhance the overall look of the club. Remember to allow at least 24 hours for the paint to fully dry before handling the golf club. This patience will secure a high-quality finish that will maintain the aesthetic appeal of your custom paint job. By following these finishing touches, you'll be able to showcase your masterpiece on the course with confidence.
Inspect and Touch Up
Before applying a fresh coat of paint, carefully examine the golf club's surface to identify any scratches, chips, or imperfections that demand attention. This essential step will guarantee a professional-looking finish for your custom golf club.
To achieve a seamless look, you'll need to touch up any areas that need repair. Here's what to do:
- Inspect the golf club for any scratches, chips, or imperfections that may need touching up before painting.
- Use touch up paint or a fine-tip paint pen to meticulously fill in any areas that need to be repaired.
- Confirm that the touch up paint matches the original color of the club to uphold a seamless look.
- Allow the touch up paint to dry completely before moving on to the next step in the painting process.
A thorough inspection and touch up process will guarantee a professional and polished final look for the custom golf club.
Finalize With Polish and Buff
With your custom golf club's paint job complete, it's time to enhance the finish with a thorough polishing and buffing process. To achieve a high-level finish, use wire wool or a scotch-brite pad to smooth out any minor imperfections. This step is vital in preparing the surface for the final polish.
Next, follow up with a metal polish to add a professional touch. Apply the polish according to the manufacturer's instructions and buff the club to a high shine.
As you finalize the custom golf club, inspect it carefully for any remaining over spill paint that needs to be removed. Ensure a high-quality finish by paying attention to even the smallest details. Once you're satisfied, give the club a final buff to achieve a smooth and polished appearance. This step is crucial in guaranteeing the club looks and feels like a premium product.
Frequently Asked Questions
What Kind of Paint Do You Use on Golf Clubs?
When painting golf clubs, you'll want to use automotive aerosol paint or urethane auto paint with a flex additive for durability, considering BBQ grill paint for heat-prone areas, and mastering precise painting techniques for a flawless finish.
How Do You Fill Golf Club Numbers With Paint?
Did you know that 75% of golfers customize their clubs for personal touch? To fill golf club numbers with paint, you'll master precise painting techniques, using fine brushes or paint pens, applying thin layers, and allowing each coat to dry before handling.
Can You Spray Paint Golf Irons?
You can achieve a durable, professional finish on golf irons using spray painting techniques with automotive aerosol paint or urethane auto paint with flex additive, ensuring proper surface prep and scuffing for best paint adhesion.
Can You Use Nail Polish to Paint Golf Clubs?
When you're tempted to whip out nail polish for a quick golf club makeover, think twice. Instead, opt for professional-grade paint alternatives that'll withstand the green's rough conditions, saving you from frequent touch-ups and ensuring a durable, long-lasting finish.
Conclusion
You've made it to the final step! Now, hold your breath as you reveal your masterpiece.
Gently remove the masking tape, and behold the crisp, sharp lines. Your custom golf club is almost ready to hit the course. But, don't get ahead of yourself – a few more minutes of polish and buffing will make it truly showroom-worthy.
Take a deep breath, the suspense is killing you, and get ready to release your one-of-a-kind club on the green!