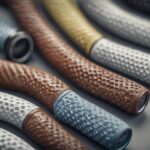
- 7 Top Flite Golf Clubs XL for Improved Performance - September 28, 2024
- Top Flite Golf Clubs: Top 5 Reasons to Choose Them - September 28, 2024
- Top 3 Golf Club Fitters for a Perfect Swing - September 28, 2024
You'll regrip your golf clubs in 5 steps: prepare your tools and workspace, remove old grips and tape, apply new grip tape and solvent, install and align new grips, and finalize with a thorough cleaning and inspection. Start by gathering your hook blade, utility knife, regripping kit, and new grips. Next, remove the old grip and tape, and clean the shaft. Then, apply new grip tape and solvent, and install the new grip, ensuring proper alignment. Finally, clean up excess solvent and inspect your work. Now that you've got a solid foundation, get ready to fine-tune the process for best results.
Key Takeaways
- Prepare your workspace and tools to ensure efficiency and prevent accidents during the regripping process.
- Remove old grips and tape by slicing and peeling them off, then cleaning the shaft with mineral spirits and grip solvent.
- Apply new grip tape and solvent, ensuring even application for a strong bond and secure grip installation.
- Install and align the new grip, making minor adjustments for comfort and properly seating the grip cap.
- Conduct a final cleaning and inspection to verify grip alignment, cleanliness, and secure seating before using the clubs.
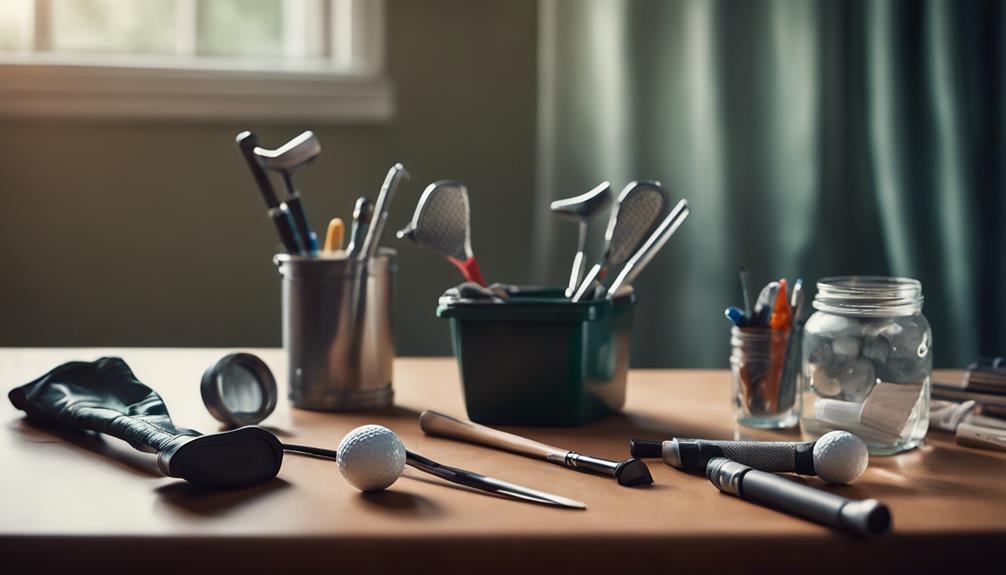
Prepare Your Golf Clubs
Gather the necessary tools, including a hook blade, utility knife, regripping kit, and new grips, and make sure your workspace is organized to efficiently prepare your golf clubs for regripping. Having all the tools within reach will save you time and frustration.
Next, securely fasten your club in a vise clamp to guarantee stability during the regripping process. This will prevent any accidents or damage to the club.
Now, get ready to remove the old grip, but don't do it just yet – that's the next step. For now, focus on preparing your club for the new grip tape. Clean the shaft thoroughly with a solvent, such as mineral spirits, to remove any residue or dirt. This important step will ensure a strong bond between the new grip tape and the shaft.
With your shaft prepared, you're ready to measure and cut the new grip tape to the exact length using your utility knife. You're one step closer to regripping your golf clubs like a pro.
Remove Old Grips and Tape
Using a hook blade utility knife, carefully slice through the old grip, starting at the butt end and working your way down to the shaft, to loosen the adhesive and pry it off. This is the first step in removing the old grip and tape from your golf clubs.
To guarantee a clean surface for the new grip, you'll need to:
- Peel off the old grip tape using a utility knife or a tape stripper
- Clean the shaft thoroughly with mineral spirits for proper shaft preparation
- Remove old grips and tape completely to prevent any residue from interfering with the new grip
- Use grip solvent to dissolve any remaining adhesive for a smooth application
- Verify the shaft is free from any residue before applying the new grip tape for a secure fit
Apply New Grip Tape and Solvent
With the old hold and tape removed, you're ready to apply a fresh layer of grip tape, carefully measuring and cutting it to the correct length to ensure a professional and secure grip installation. This is an essential step, as the new grip tape provides a solid foundation for the new grip to adhere to.
Next, apply a generous amount of grip solvent to both the tape and inside the grip, ensuring easy installation and preventing slipping. The solvent also allows for easy grip adjustments before it sets, ensuring proper alignment and comfort. Make sure to apply the solvent evenly, as this will facilitate adhesive activation and a strong bond between the grip and club shaft.
With the grip tape and solvent in place, you're one step closer to a secure grip installation that will enhance your game. By following these steps, you'll be able to achieve a professional-grade regrip that will provide the comfort and control you need to elevate your game.
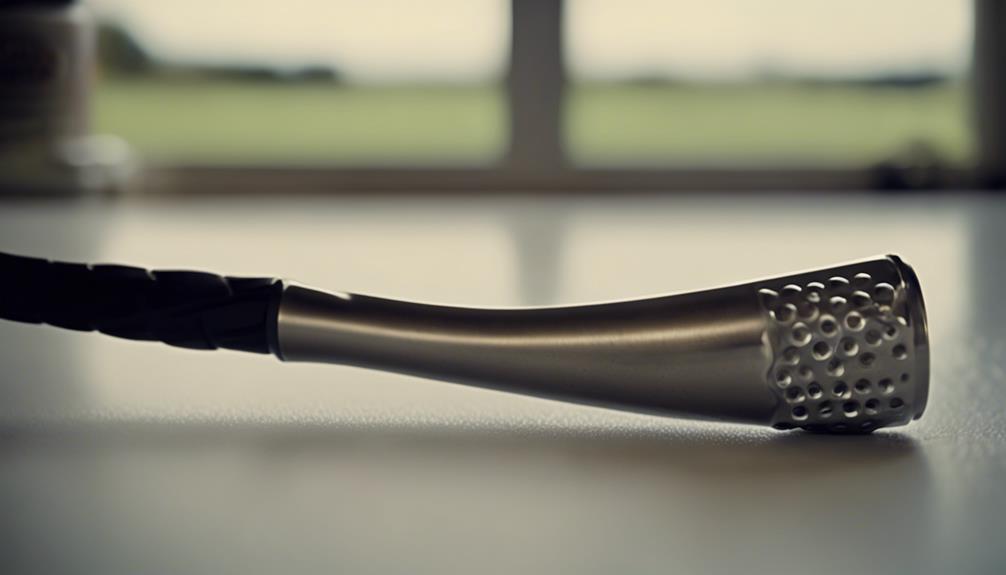
Install and Align New Grip
You'll need to carefully slide the new grip onto the shaft, making sure it's properly aligned with the clubface for best performance. This step is essential in the regripping process, as proper alignment and seating of the new grip are necessary for peak performance.
Here are some tips to help you install and align your new grip:
- Pay attention to the grip logo and texture to align it correctly with the clubface, ensuring proper clubface positioning.
- Make minor adjustments to the grip position before it sets to ensure a comfortable grip that suits your playing style.
- Tap the end of the grip on the ground to seat the cap correctly after installation, ensuring a secure fit.
- Double-check the grip's alignment and seating before moving on to the next step.
- Take your time and be patient, as installing a new grip requires attention to detail and accuracy.
Final Cleaning and Inspection
Your regripped golf clubs are almost ready for action – now it's vital to perform a thorough final cleaning and inspection to make sure every detail is perfect.
Start by examining the grip alignment with the clubface for proper positioning. Next, use a towel to clean any excess solvent, ensuring a secure grip. Check for any twists or slippage in the grip, making sure it provides a comfortable feel in your hands.
Verify that the grip cap is securely in place, giving your regripped clubs a professional finish. Finally, allow the clubs to dry for 2-3 hours before use to set properly.
This final cleaning and inspection step is essential in ensuring your regripped clubs perform at their best on the course. By following these steps, you'll be able to trust your grip, focus on your game, and take your skills to the next level.
Frequently Asked Questions
How Do You Grip a Golf Club Step by Step?
You grip a golf club by maintaining proper alignment, applying even grip pressure, positioning your hands correctly, rotating the club, placing fingers strategically, and selecting the right grip size, whether it's overlap, interlock, neutral, or strong.
How Do I Regrip My Golf Clubs Myself?
"You're about to become a master regripper! To regrip your golf clubs yourself, start by choosing the perfect grip size and material, then apply grip tape precisely, ensuring proper alignment and pressure for maximum comfort, durability, and customization."
What Solvent to Use When Regripping Golf Clubs?
When regripping golf clubs, you'll find mineral spirits are the best solvent, offering strong adhesion and quick evaporation; however, consider alternative options, safety precautions, environmental impact, and cost comparisons before application.
What All Do You Need to Regrip Golf Clubs?
When regripping golf clubs, you'll need a utility knife, vice clamp, grip tape, grip solvent, and a chosen grip brand, considering factors like grip size, texture, durability, and pressure to guarantee proper alignment and a secure fit.
Conclusion
You've successfully regripped your golf clubs in 5 easy steps! Now, imagine your golf game as a well-oiled machine, with each club a precise cog working in harmony.
Just as a single misaligned gear can throw off the entire system, a worn-out grip can ruin your swing.
By regripping your clubs, you've fine-tuned your machine, ensuring a smoother, more consistent performance on the course.
Get ready to shave strokes off your score and take your game to the next level!