
- 7 Top Flite Golf Clubs XL for Improved Performance - September 28, 2024
- Top Flite Golf Clubs: Top 5 Reasons to Choose Them - September 28, 2024
- Top 3 Golf Club Fitters for a Perfect Swing - September 28, 2024
You've invested a lot in your golf driver, so when it starts to underperform, it's worth reviving it. Start by removing debris and old epoxy from the driver's surface using a flathead screwdriver and chemical solvents. Inspect the clubhead and surrounding area for dirt, grass, and other debris, and clean it with a soft-bristled brush or cloth. Replace damaged components with new ones compatible with the club's specifications, ensuring high-temperature resistance. Reattach the club head, aligning it with the shaft and verifying a snug fit. By following these steps, you'll be well on your way to reviving your dead golf driver – and with a little more attention to detail, you might just restore its original performance.
Key Takeaways
- Inspect the clubhead and surrounding area for dirt, debris, and signs of wear, corrosion, or heat damage that may be hindering performance.
- Replace damaged components with new, high-temperature-resistant parts that meet the golf club's specifications and restore original performance.
- Ensure a secure bond between the club head and shaft by applying a thin, even layer of JB Weld epoxy and allowing it to cure undisturbed.
- Test the revived driver on the practice range, paying attention to ball flight, speed, and spin to identify areas that need further attention.
- Establish a routine of regular inspections and maintenance to prevent future damage and maintain the driver's performance and longevity.
Removing Debris and Old Epoxy
Removing Debris and Old Epoxy
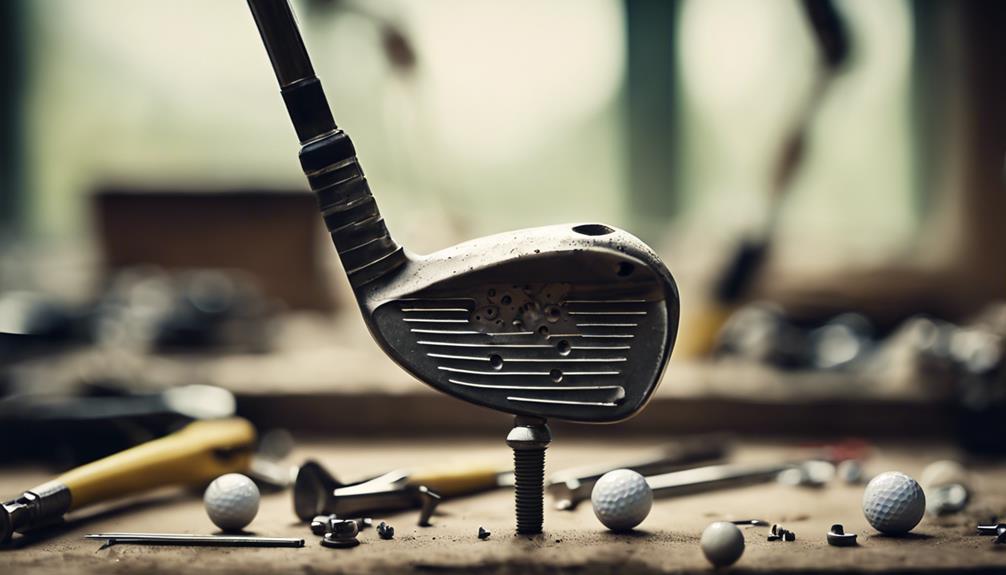
Start by carefully scraping away any loose debris, such as dirt, grass, or old adhesive, from the driver's surface using a flathead screwdriver or a similar tool. This will provide a clean slate for the repair process.
Next, focus on removing old epoxy from the driver head. You'll likely need to use a combination of scraping and chemical solvents to break down the epoxy. Apply a solvent, such as acetone or Goo Gone, to the affected area and let it sit for a few minutes.
Then, use a flathead screwdriver or a scraper to gently pry away the epoxy. Be careful not to scratch the driver's surface. Continue this process until all old epoxy is removed.
Once you've removed the debris and epoxy, use a soft-bristled brush to sweep away any remaining residue.
Finally, wipe the area clean with a lint-free cloth and inspect the driver head for any remaining imperfections.
With a clean and epoxy-free surface, you're ready to move on to the next step in reviving your dead golf driver.
Step Drilling for Clearance
Now that you've removed the old epoxy and debris, it's time to create a clear path for the new shaft.
You'll need to select the right drill bits for the job, taking into account the material and thickness of your driver's head.
With the correct bits in hand, you can begin strategically placing clearance holes to facilitate a smooth, interference-free install.
Drill Bit Selection
When preparing to drill into your dead golf driver, selecting the right drill bit is crucial to avoid damaging the clubhead or surrounding material, and a step-drilling approach with a set of incrementally larger bits provides clearance and minimizes the risk of splitting or shattering. You'll want to choose bits that are designed for drilling through metal, such as titanium nitride (TiN) or cobalt steel bits. These bits are more durable and resistant to wear, ensuring a smooth drilling process.
Here's a suggested drill bit sequence for step drilling:
| Bit Size (in) | Material | Purpose |
|---|---|---|
| 1/16 | Pilot | Initial hole creation |
| 1/8 | Intermediate | Expanding the hole |
| 3/16 | Intermediate | Further expansion |
| 1/4 | Final | Achieving desired clearance |
| 5/16 | Final | Optional, for larger clearances |
Remember to always use a drill press or a hand drill with a steady, consistent motion to avoid applying excessive pressure, which can cause damage to the clubhead or bit. By following this step-drilling approach and selecting the right drill bits, you'll be able to revive your dead golf driver with confidence.
Clearance Hole Placement
You'll need to strategically position the clearance holes to guarantee the weights or screws you'll be installing later fit snugly and evenly, without compromising the structural integrity of the clubhead. This is vital, especially when working with cavity back drivers, where the weight distribution is critical to achieving peak performance.
When determining the clearance hole placement, consider the location of the weights or screws in relation to the clubhead's center of gravity. You'll want to confirm that the holes are positioned to allow for easy installation and removal of the weights or screws, while also maintaining the structural integrity of the clubhead.
Use a precision measuring tool to mark the exact location of the clearance holes. Then, using a step drill bit, create a pilot hole followed by a larger hole to accommodate the weight or screw. Be cautious not to drill too close to the edge of the clubhead, as this can cause structural weakness.
Inspecting and Cleaning the Area
Now that you've created clearance, it's time to inspect and clean the area around the club head.
You'll need to remove any dirt and debris that may be obstructing your view or affecting the club's performance.
Next, take a closer look at the club head itself and inspect the grip's condition to identify any potential issues.
Dirt and Debris Removal
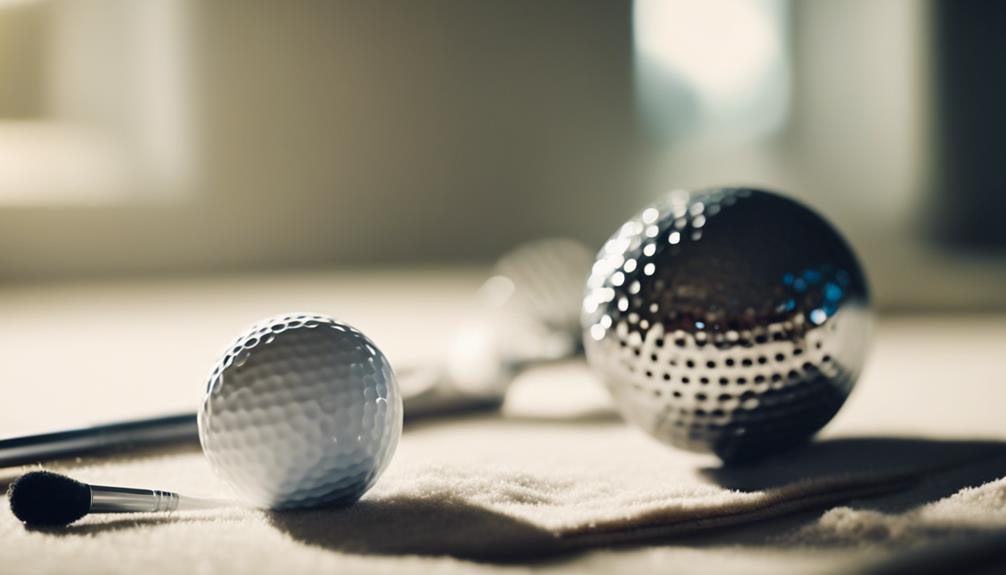
Inspect the clubhead and surrounding area for dirt, grass, and other debris that may be hindering the driver's performance, as even the smallest obstructions can substantially impact ball flight and accuracy. A thorough cleaning is essential to restore optimal performance.
| Debris Type | Removal Method | Importance |
|---|---|---|
| Loose Dirt | Soft-bristled brush or cloth | High |
| Grass and Twigs | Tweezers or small pliers | Medium |
| Mud and Stickers | Mild soap and water | High |
Using a soft-bristled brush or cloth, gently sweep away loose dirt and debris from the clubhead and surrounding area. For more stubborn debris like grass and twigs, use tweezers or small pliers to carefully pluck them out. For mud and stickers, mix a mild soap with warm water, and use a soft cloth to gently wipe away the debris. Be careful not to scratch the clubhead's surface. Remove as much dirt and debris as possible to ensure a clean surface for the next steps in reviving your dead golf driver.
Club Head Inspection
With the debris removed, focus on the club head's surface, where a thorough inspection will reveal any remaining imperfections that could be affecting the driver's performance.
You're looking for any signs of wear, scratches, or corrosion that might be impacting the club's aerodynamics or weight distribution. Hold the club head at different angles to catch the light, and use a magnifying glass or loupe if necessary. Check for any dents, dings, or chips, especially around the face and edges.
Inspect the grooves and scoring patterns for any clogging or buildup, as these can affect the ball's spin and trajectory.
Use a soft-bristled brush or a cotton swab to gently remove any dirt, dust, or residue that may be hiding imperfections.
Clean the club head with a mild detergent and warm water, then dry it thoroughly with a soft cloth.
Finally, use a club head cleaning solution or a metal polish to remove any stubborn stains or oxidization.
Grip Condition Check
You'll next want to turn your attention to the grip, where a thorough examination will help you identify any signs of wear or damage that could be compromising your swing's consistency and control.
Take the shaft and inspect the grip for cracks, worn-down surfaces, or other signs of wear.
Clean the grip with mild soap and water to remove dirt and debris that can affect the club's performance.
For a deeper clean, use a grip cleaning solution or specialized grip cleaners to restore the grip's original texture and feel.
Regular cleaning and maintenance can help extend the lifespan of the driver and prevent damage to the shaft and clubhead.
Proper storage and handling of the driver when not in use can also help prevent damage to the grip and extend its lifespan.
Replacing Overheated Club Parts
By the time you've diagnosed the problem as an overheated component, it's likely that the club's performance has already suffered substantially due to excessive heat buildup. When a golf club is subjected to high temperatures, the materials can degrade, leading to a loss of distance, accuracy, and overall playability. To revive your dead golf driver, you'll need to identify and replace the overheated parts.
Start by inspecting the club's shaft, grip, and clubhead for signs of heat damage. Check for discoloration, warping, or cracking, which can indicate excessive heat exposure. If you find any damaged components, replacing them with new ones is crucial to restore the club's original performance.
When selecting replacement parts, verify they're compatible with your golf club's specifications and designed for high-temperature resistance. Avoid using low-quality components, as they may not withstand the stresses of the game and could lead to further damage. By replacing overheated parts with durable, high-performance components, you'll be able to restore your golf club to its prime state, ready to take on the course once again.
Reattaching the Club Head
Reattach the club head to the shaft by confirming the ferrule, a small rubber or plastic ring, is securely positioned over the shaft's tip.
This critical step guarantees a snug fit, allowing you to generate maximum power and control when hitting the ball.
Next, align the club head with the shaft, making sure it's properly seated and centered.
You may need to twist the head slightly to achieve the perfect fit.
Once aligned, use a slight amount of pressure to push the head onto the shaft, verifying it's fully seated.
Double-check the ferrule, making sure it's still securely in place.
If you're using a new shaft, apply a small amount of shafting tape to the tip to prevent the ferrule from slipping.
With the club head securely attached, you're one step closer to reviving your dead golf driver and getting back to hitting the ball with precision and power.
Applying JB Weld Epoxy
When applying JB Weld epoxy to reattach the club head, you'll want to focus on getting the application and mixing process just right.
You'll need to mix the perfect blend according to the manufacturer's instructions, ensuring a strong bond between the head and shaft.
Epoxy Application Tips
You'll achieve a strong bond between the clubhead and shaft by applying a thin, even layer of JB Weld epoxy to the prepared surfaces. To facilitate a uniform application, use a small brush or applicator to spread the epoxy, working from the center of the clubhead outward. This will help prevent air pockets from forming and guarantee a strong, consistent bond.
As you apply the epoxy, make sure to maintain a clean and dust-free environment to prevent contamination. If you notice any excess epoxy, use a lint-free cloth or cotton swab to remove it before it sets. It's also essential to apply the epoxy in a well-ventilated area, as the fumes can be hazardous.
Once you've applied the epoxy, use a clamp or vise to hold the clubhead and shaft in place, maintaining their proper alignment. This will help the epoxy set correctly and maintain the integrity of the bond. By following these application tips, you'll be able to achieve a strong, long-lasting bond that will revive your dead golf driver.
Mixing the Perfect Blend
Mixing the Perfect Blend
To achieve a strong and durable bond, mix the JB Weld epoxy resin and hardener in a 1:1 ratio, thoroughly combining the two components until they form a uniform, grayish-colored paste.
Make sure to mix them on a clean, dry surface, free from any contaminants or debris. Use a mixing stick or wooden craft stick to combine the resin and hardener, scraping the sides and bottom of the mixing surface to guarantee a thorough blend.
As you mix, pay attention to the color and consistency of the epoxy. A well-mixed blend will have a uniform gray color and a smooth, thick consistency.
If you notice any streaks or unevenness, continue mixing until the desired consistency is achieved.
Mixing the perfect blend is critical to achieving a strong bond. Take your time, and don't rush the process.
Drying and Curing the Bond
After applying the epoxy, allow it to sit undisturbed for 24 hours in a warm, dry environment to facilitate proper bonding and curing.
This vital step allows the epoxy to set correctly, creating a strong and durable bond between the clubhead and shaft.
During this time, avoid exposing the club to direct sunlight, moisture, or extreme temperatures, as these can compromise the curing process.
You'll know the epoxy has fully cured when it reaches its full hardness and is no longer tacky to the touch.
If you're unsure, wait an additional 24 hours to be safe.
Once cured, you can handle the club with care, taking note of any minor imperfections that may need attention.
Inspect the bond area for any excess epoxy that may have oozed out during the curing process.
Gently remove any excess material with a razor blade or fine-grit sandpaper, being careful not to scratch the surrounding surfaces.
With the bond now fully cured, you're one step closer to reviving your dead golf driver.
Testing the Revived Driver
With the bond fully cured, it's time to take your revived driver to the practice range or a designated testing area to assess its performance and make any necessary fine-tunings.
You'll get a feel for how the clubhead responds to your swing, and identify any areas that need further attention. Pay attention to the ball's flight, speed, and spin, as these will indicate if the revived driver is performing perfectly. Take note of any inconsistencies in your shots, as these could be indicative of imperfections in the bond or clubhead.
As you test the driver, remember to maintain a consistent swing tempo and stance to guarantee accurate results. Take multiple shots from different angles to get a thorough understanding of the driver's performance.
If you notice any issues, don't hesitate to make adjustments on the spot. Next time you take your driver out, you'll be able to fine-tune your swing to get the most out of your revived club. By testing and fine-tuning your driver, you'll be able to maximize its performance and get back to playing your best game.
Restoring Original Functionality

You'll need to inspect the revived driver's components to verify they're functioning in harmony, just as they did when the club was new. This step is vital in restoring original functionality, guaranteeing that nothing wrong will hinder your game.
Shaft alignment: Make sure it's straight and properly attached to the clubhead.
Clubhead weight: Verify it's evenly distributed and balanced to maintain a consistent swing.
Face angle: Check that it's square to the target line, allowing for accurate shots.
Lie angle: Confirm it's set correctly to prevent slicing or hooking issues.
Grip condition: Inspect for wear and tear, replacing it if necessary to maintain a secure hold.
Tips for Preventing Future Damage
Proper maintenance is key to extending the life of your revived golf driver, and regular inspections can help prevent damage from occurring in the first place.
You should enter a valid routine of checking your driver's clubhead, shaft, and grip for signs of wear and tear after each use. Inspect the clubhead for dents, scratches, and corrosion, and clean it with a soft cloth and mild soap. Check the shaft for cracks, dents, and rust, and consider applying a shaft sealant to protect it from the elements. Don't forget to examine the grip for signs of wear, and replace it if necessary.
You should also store your golf driver in a cool, dry place, away from direct sunlight and extreme temperatures. Avoid exposing it to harsh chemicals or cleaning products, as they can damage the finish or compromise the structural integrity of the club.
Frequently Asked Questions
Can Drivers Go Dead?
You've likely wondered, "Can drivers go dead?" But here's the truth: it's a Golf Myth. You're not experiencing a magical loss of power; instead, it's probably a combination of worn-out components, poor maintenance, or changes in your swing technique.
Can You Refurbish a Driver?
"You're a master mechanic, revving up a worn-out engine – can you refurbish a driver? Yes, you can breathe new life into it with a Grip Upgrade, swapping out worn grips for fresh ones to regain control and precision."
Can You Fix a Broken Driver?
You can fix a broken driver by addressing the root cause, such as shaft fracturing or hairline cracks, and considering shaft replacement, which requires expertise, caution, and the right materials to guarantee a successful repair.
Do Drivers Lose There Pop?
As you refine your Swing Evolution, you might notice your driver's performance waning, but it's not necessarily the club's fault – your technique's subtle changes can affect ball rebound, giving the illusion that your driver's lost its pop.
Conclusion
With your revived driver now humming like a sweet melody, you've brought new life to a once-dead club.
The satisfying 'crack' of ball meeting clubface is music to your ears, a symphony of redemption.
Your hands, once hesitant, now grip the restored driver with confidence, ready to take on the course.
The once-forgotten driver, now reborn, stands ready to unfurl its fury on the links, a phoenix rising from the ashes of neglect.