- 7 Top Flite Golf Clubs XL for Improved Performance - September 28, 2024
- Top Flite Golf Clubs: Top 5 Reasons to Choose Them - September 28, 2024
- Top 3 Golf Club Fitters for a Perfect Swing - September 28, 2024
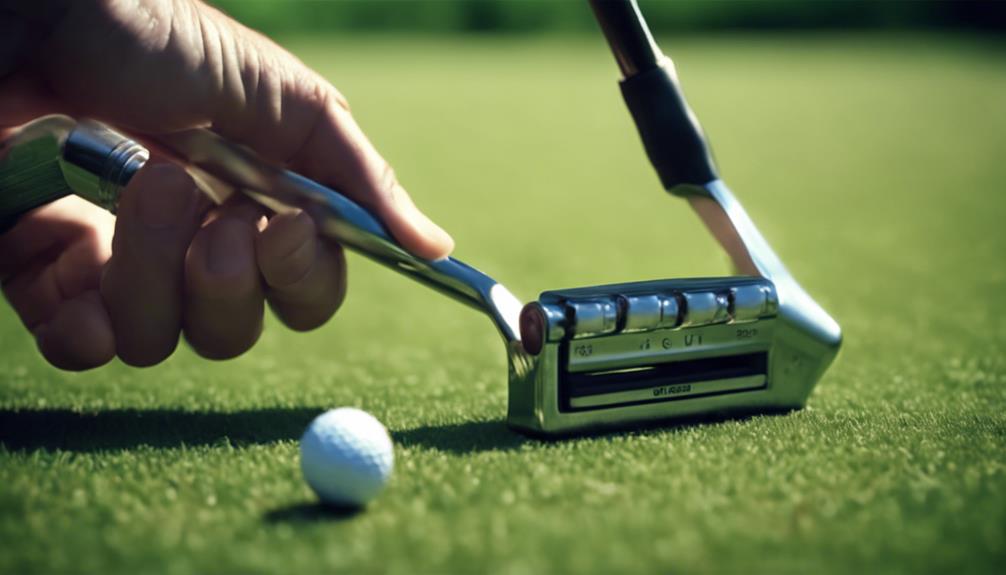
You're ready to open the secret to maximizing your golf game by learning how to use a golf club groove sharpener. First, identify your club's groove type – V-shaped, U-shaped, or square – and clean it with soapy water and a brush. Protect the edges with electrical tape and apply lubricant to the grooves. Select the right groove head, start sharpening with light pressure, and run the sharpener along the groove. Remove debris, inspect the groove, and sharpen each one consistently. As you master these steps, you'll be on your way to improving spin, control, and accuracy – and the best part is yet to come.
Key Takeaways
- Identify your club's groove pattern (V-shaped, U-shaped, or square) to select the correct groove head for sharpening.
- Clean the club face with soapy water and a brush to remove dirt and debris before sharpening.
- Apply lubricant to the grooves and protect club edges with electrical tape for smooth sharpening.
- Hold the sharpener at the correct angle and apply consistent pressure to sharpen each groove evenly.
- Gradually increase pressure for optimal sharpening performance and inspect grooves for smooth edges and consistency.
Identify Your Club's Groove Type
To ensure you're using the correct sharpening tool for your golf club, start by identifying the type of groove pattern on your club's face, whether it's V-shaped, U-shaped, or square. This is essential because different groove types may require specific sharpeners for best results.
You can research your club brand or inspect the grooves yourself to determine the type. You'll likely find that V-shaped grooves are the most common, providing good spin control. If you're still unsure, testing different groove heads can help you determine the best fit for your club.
Knowing your club's groove type is necessary for effective sharpening and improved performance on the course. Take a moment to examine your club's grooves, and you'll be rewarded with better results. By identifying your club's groove type, you'll be able to choose the right sharpener and get the most out of your club.
This small step will pay off in the long term, so don't overlook it.
Prepare Your Club for Sharpening
Before you start sharpening, give your club a thorough cleaning with soapy water and a brush to remove any dirt and debris that could interfere with the process. This important step in club maintenance guarantees groove cleanliness, allowing the sharpener to work effectively.
Next, protect the club edges from scratches by applying electrical tape along the perimeter of the club head. This preventive measure will help maintain the club's integrity throughout the sharpening process.
To further aid in sharpener preparation, apply a lubricant like WD-40 to the grooves. This will enable the sharpener to glide smoothly along the grooves, resulting in more efficient sharpening.
By taking these steps, you'll be well-prepared to achieve best results from your golf club groove sharpener. A clean and prepared club is vital for achieving a sharp and consistent groove profile, which is essential for improving your game.
Select the Right Groove Head

When selecting the appropriate groove head, you'll need to identify the type of grooves on your club – are they U-shaped, V-shaped, or square? Researching your club's brand or consulting the sharpener manufacturer's guidance can help you make the correct choice.
Groove Type Identification
You'll need to accurately identify the type of grooves on your golf club to select the right groove head for sharpening. This pivotal step guarantees a precise fit and best results in the sharpening process.
Conduct a groove type analysis by inspecting the grooves visually or researching the club brand online.
Here are three essential tips for groove identification:
- Inspect visually: Take a close look at the grooves to determine their shape and size.
- Research online: Look up the club brand to find specifications on the groove type.
- Test different heads: Try out various groove heads to find the best fit for your club's grooves.
Club Brand Research
By researching your club's brand online, you can quickly determine the specific groove design used, ensuring you select the right groove head for best sharpening results. This step is vital, as different brands employ distinct groove designs that require tailored sharpening approaches.
Conduct a brand comparison to understand the unique features of your club's grooves, such as material composition and dimensions. For instance, some clubs may have V-shaped grooves, while others may feature U-shaped or square grooves. If you're unsure about the groove type, don't worry – V-shaped grooves are the most common in modern clubs, designed for peak spin control.
Inspect your club's grooves visually to identify their shape and size. If you're still unsure, try testing different groove heads to find the best fit for sharpening your club's grooves effectively. Remember, selecting the right groove head is crucial to achieving prime sharpening results and enhancing your performance on the course.
Start Sharpening With Light Pressure
When you start sharpening with light pressure, you're setting the stage for a precise and effective process.
You'll want to begin by running the groove sharpener lightly along the groove 3-4 times, which initiates the sharpening action and allows you to assess the groove's condition.
From here, you'll build on this foundation by gradually increasing pressure and focusing on consistent direction, ensuring a sharp and consistent groove profile.
Initial Light Strokes Matter
To establish a solid foundation for sharpening, start by gently running the groove sharpener along the groove 3-4 times with gentle pressure to create a starting point. This initial step is important for setting the tone for the entire sharpening process.
Why Gentle Initial Strokes Matter:
- Pressure Control: Starting with gentle pressure allows you to gauge the impact of the sharpener on the groove, enabling you to adjust pressure accordingly for best results.
- Sharpness Buildup: Building up sharpness gradually through gentle strokes ensures a controlled and precise sharpening process for each groove on the club.
- Foundation for Mastery: Gentle initial strokes are essential for establishing a consistent and effective sharpening process, ultimately leading to a razor-sharp golf club.
Gradual Pressure Increase
With your gentle initial strokes setting the foundation, you can now progress to applying gradual pressure to effectively sharpen the grooves on your golf club.
This is where pressure control becomes vital, as excessive force can lead to uneven sharpening and damage to the club or sharpener.
Instead, start with light pressure and gradually increase it as you run the sharpener along the groove.
This sharpening technique allows you to precisely remove debris and restore the groove's sharpness.
Consistent Sharpening Direction
Establish a consistent sharpening direction by running the groove sharpener along the groove 3-4 times with light pressure, setting the pattern for a precise and effective sharpening process. This initial step is essential in maintaining groove uniformity and ensuring a consistent ball spin on shots.
As you sharpen, focus on moving the tool in one direction only, avoiding back-and-forth motions that can disrupt the groove's alignment.
To achieve best results, keep in mind the following key factors:
- Groove alignment: Consistent sharpening direction helps maintain the groove's original shape and alignment, ensuring a clean ball strike.
- Spin consistency: By sharpening in one direction, you'll achieve a consistent spin pattern, resulting in more predictable shots.
- Shot accuracy: A well-sharpened groove with consistent spin will lead to more accurate shots, giving you a competitive edge on the course.
Remember to repeat the sharpening process for each groove on the club, following the same method to achieve a consistent and effective result.
Run Sharpener Along the Groove

Once you've positioned the sharpener correctly in the groove, run it along the entire length, applying consistent pressure to effectively reshape and sharpen the groove. This groove sharpener technique requires precision, as any deviation can lead to uneven sharpening or damage to the club. As you move the sharpener, maintain a steady hand and smooth motion to guarantee even sharpening results. Avoid applying excessive force, which can alter the groove dimensions or damage the club.
The benefits of using a groove sharpener are undeniable, with improved spin being one of the most significant advantages. By sharpening the grooves, you can increase the ball's backspin, resulting in more control and accuracy on the green. However, common errors, such as applying too much pressure or moving the sharpener unevenly, can negate these benefits.
To avoid these mistakes, focus on developing a consistent groove sharpener technique, and repeat the process multiple times, adjusting pressure as needed, to achieve the desired sharpness in the groove.
Increase Pressure for Better Results
When you're sharpening your golf club's grooves, it's important to increase pressure gradually to achieve the best sharpening performance.
By doing so, you'll guarantee a precise and effective sharpening result, which is necessary for restoring your club's original groove profile.
As you apply more pressure, you'll notice a significant enhancement in your shots, with improved control and spin.
Gradual Pressure Increase
As you begin sharpening your golf club's grooves, ramp up the tension gradually to achieve a more precise and effective result. This controlled approach guarantees you maintain groove precision and avoid damaging the club.
Here are three key benefits of gradual tension increase:
- Tension control: Starting with light tension and gradually increasing it allows you to maintain control and accuracy during the sharpening process.
- Sharpener efficiency: Increasing tension enables the sharpener to remove more debris and restore the groove's sharpness, making the process more efficient.
- Precision maintenance: Consistent tension application ensures uniform sharpness across all grooves on the club, which is essential for peak performance on the golf course.
Optimal Sharpening Performance
By applying perfect pressure during the sharpening process, you can maximize the full potential of your golf club's grooves, achieving a razor-sharp edge that translates to enhanced spin and control on the course.
To achieve top-notch sharpening performance, mastering pressure adjustments is crucial. Here's a breakdown of the benefits:
| Pressure Level | Sharpening Depth | Performance Enhancement |
|---|---|---|
| Light | Shallow | Moderate spin control |
| Medium | Medium | Improved spin and control |
| Firm | Deep | Maximum spin and control |
| Excessive | Over-sharpening | Decreased performance |
| Gradual Increase | Consistent | Optimized groove performance |
Remove Debris and Inspect Groove

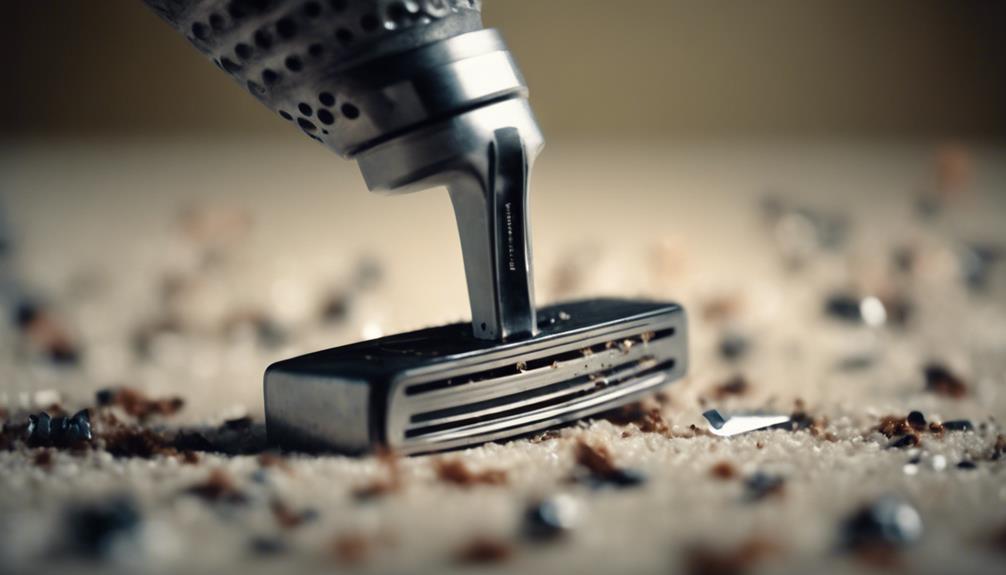
Remove dirt, grass, and debris from the grooves using a brush, taking care to dislodge any stubborn particles that may be obstructing your view. This essential step guarantees a clean slate for sharpening and helps you identify potential issues that may affect performance.
Next, inspect the groove closely for signs of wear, flattening, or damage. Look for any rust or corrosion that could impact the effectiveness of the sharpening process. This is also the time to perform a groove depth analysis, checking for any inconsistencies that may require special attention.
To achieve the best sharpening results, remember to:
- Use debris elimination techniques that are gentle yet effective to avoid damaging the groove.
- Implement corrosion control strategies to protect the club from rust and corrosion.
- Guarantee the groove is clean and dry before proceeding with sharpening.
Sharpen Each Groove Consistently
With your golf club's grooves clean and free from debris, you're ready to hone each one consistently, applying equal pressure and technique to guarantee uniform performance across all shots. Consistency is key here, as it directly affects the club's overall performance.
Focus on honing each groove in one direction to achieve a smoother profile, which enables better spin and control.
To maintain angle consistency, pay attention to the honing frequency and adjust as needed. This ensures that the groove depth remains ideal, resulting in consistent ball flight and spin. Apply equal pressure and technique to each groove, avoiding any deviations that might affect performance.
Wipe Away Shavings and Inspect

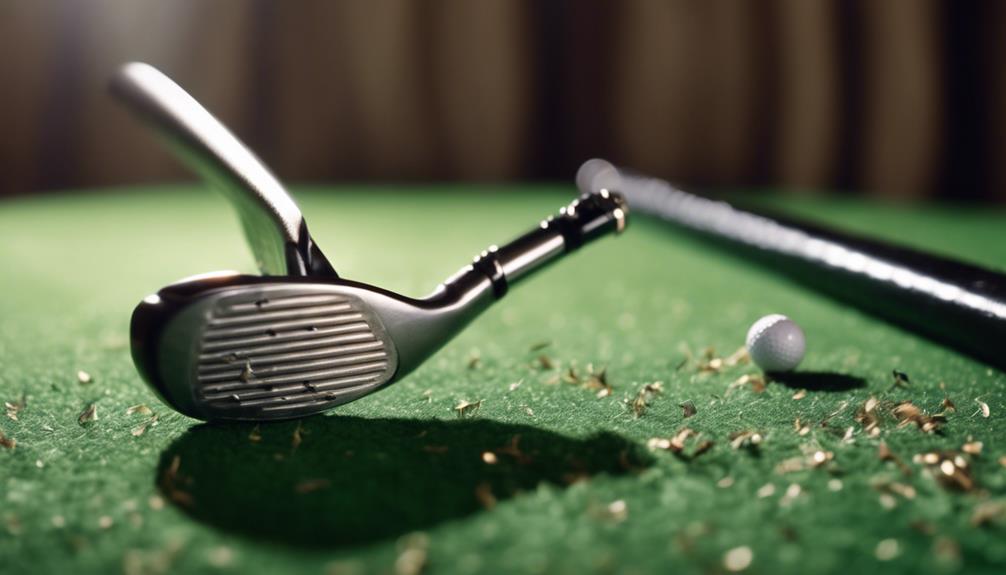
You'll want to grab a clean cloth and wipe away any shavings left on the club after sharpening the grooves, making sure a debris-free surface for inspection. This essential step in the cleaning process allows you to evaluate the effectiveness of your groove maintenance efforts.
Now, it's time to inspect the grooves closely. Here are three key things to check:
- Edge smoothness: Confirm the edges of the grooves are smooth and even, free from any rough spots or burrs.
- Debris inspection: Verify that all grooves are completely clear of debris, shavings, or residue.
- Consistency in sharpness: Validate that all grooves on the club have been sharpened evenly, ensuring consistent performance.
Enjoy the Improved Performance Results
By sharpening your golf club's grooves, you can now reap the benefits of improved performance, including enhanced spin, control, and accuracy on approach shots. You'll notice a significant difference in your gameplay, with better distance control and improved accuracy.
Player feedback suggests that sharpened grooves lead to more consistent ball contact, resulting in lower scores and a more enjoyable golfing experience.
With enhanced spin, you'll have better stopping power on the green, allowing you to attack pins with confidence. Regular groove sharpening also prolongs the life of your clubs, maintaining their peak performance over time. You'll be able to take advantage of the performance benefits for a longer period, without noticing a decline in your club's capabilities.
As you hit the course, you'll appreciate the improved feel and response from your sharpened clubs. With better control and accuracy, you'll be able to tackle challenging shots with confidence, and your overall game will benefit from the enhanced spin and stopping power.
Frequently Asked Questions
How Do You Use a Golf Club Groove Sharpener?
When using a golf club groove sharpener, you'll need to master proper technique, take safety precautions, and avoid common mistakes to achieve best results, ensuring a precise sharpening process that enhances your game.
Which Head to Use on a Groove Sharpener?
Did you know 70% of golfers overlook groove maintenance? When choosing a head for your groove sharpener, select from U-shaped, V-shaped, square, or rounded options, considering the original groove pattern, to achieve precise sharpening and improved spin, control, and overall performance.
Does Sharpening Iron Grooves Work?
You'll be glad to know that sharpening iron grooves really does work, as it improves performance by increasing spin and enhancing control, leading to more accurate shots and a better overall game.
How to Restore Golf Club Grooves?
You're looking to restore golf club grooves, and it starts with regular groove maintenance and cleaning to prevent wear. Then, master the technique of using a groove sharpener to refine the edges, ensuring peak performance and extending the life of your clubs.
Conclusion
You've successfully sharpened your golf club's grooves! Now, get ready to experience improved spin and control on the course.
Did you know that a study by Golf Digest found that sharpening grooves can increase spin by up to 20%?
With your newly sharpened clubs, you'll be able to take your game to the next level.
Enjoy the enhanced performance and watch your scores drop!


